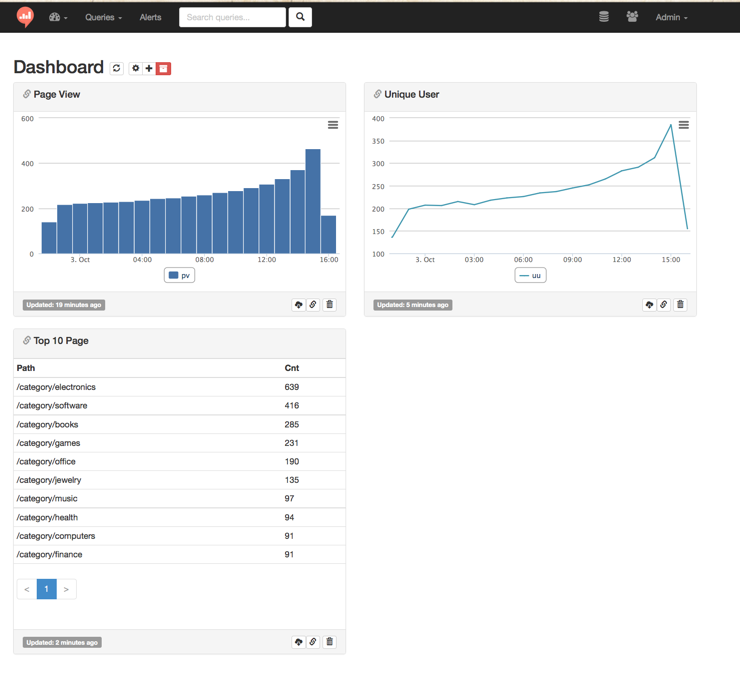
Build Dashboard by re:dash and TreasureData
re:dash is a open source data collaboration and visualization platform. TreasureData is a simplified cloud analytics infrastructure.
I implemented TreasureData plugin for re:dash. User can visualize own data from TreasureData with re:dash.
This article introduces how to build own dashboard by re:dash and TreasureData.
1. Set up re:dash
- Environments
- re:dash v0.8.1 by using AMI Image
- TreasureData account
Choose AMI Image from docs
Lauch
redash-081b1110-ap-northeast-1 (ami-4898fb48)on t2.microOpen http://(Address)/login as admin/admin
- Login Page

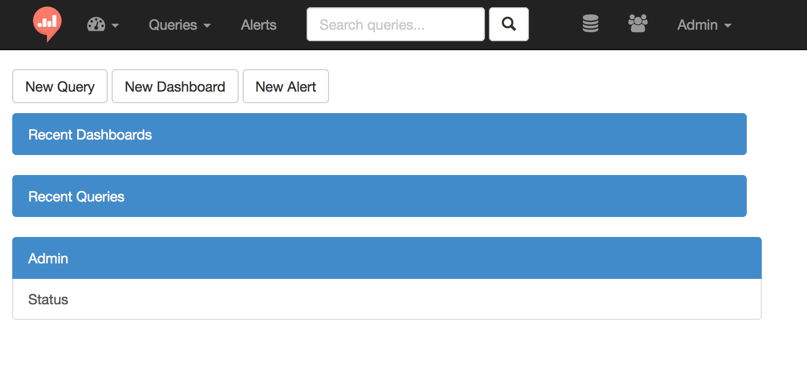
- Top Page
2. Set up TreasureData Plugin
2.1. Add TreasureData Plugin
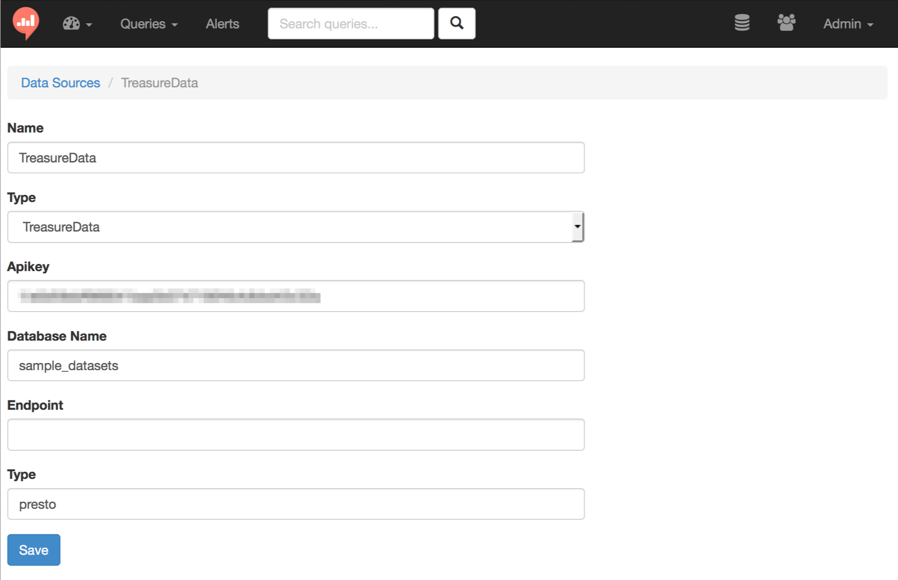
To add TreasureData plugin as datasource, Fill the following parameters.
- Name: Any
- Type: TreasureData
- APIKEY: Any (Required)
- Database Name: Any (Required)
- Endpoint: https://api.treasuredata.com/ (Default)
- Type: hive (Default) / presto (Paid Plan)
2.2. Try New Query
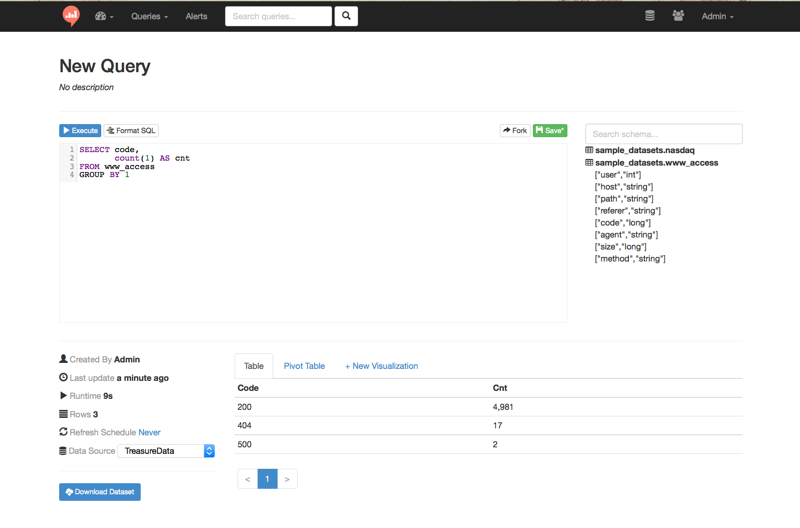
After added TreasureData plugin, you can select it as DataSource on New Query page. And, you can see the table schema in the right.
After issuing new query, you can see the results on bottom.
Optionally, you can select Refresh Interval to collect data automatically.
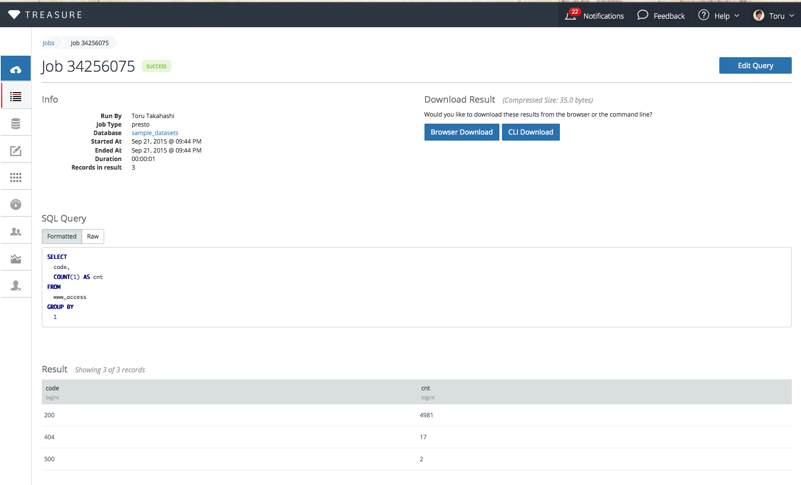
Also, you can see the job issued from re:dash on TreasureData Console.
2.3. Visualize collected data
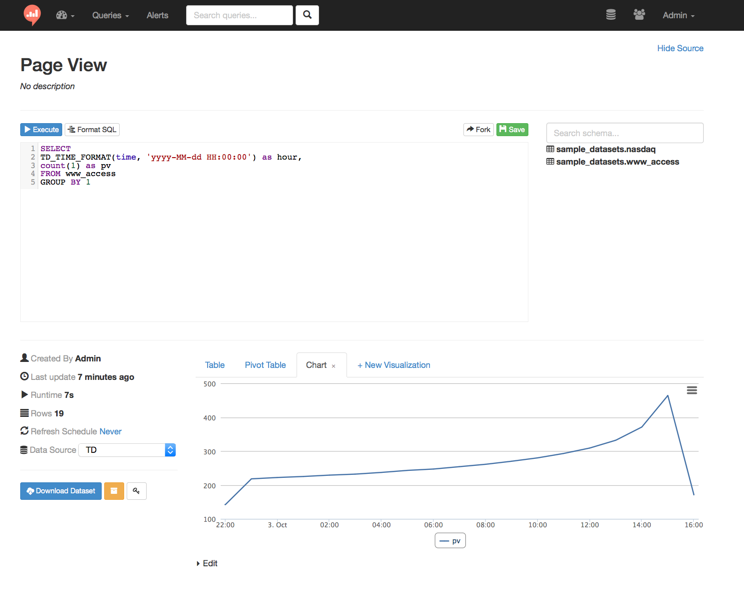
Let's set the following query, you get Page View.
SELECT
TD_TIME_FORMAT(time, 'yyyy-MM-dd HH:00:00') as hour,
count(1) as pv
FROM www_access
GROUP BY 1

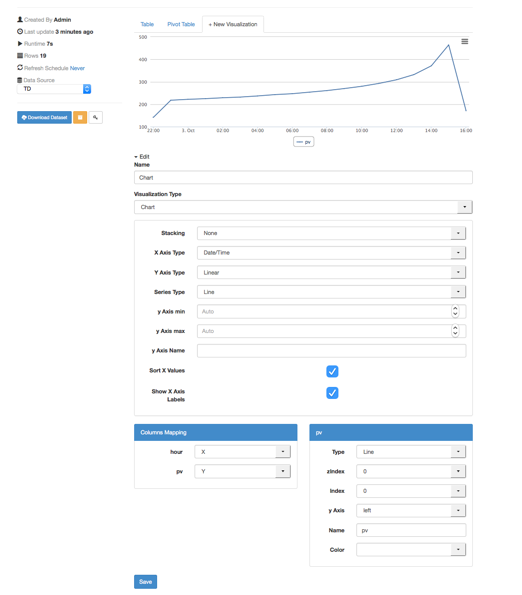
To visualize the above data, click `+ New Visualization“ button, and then you can edit graph.
To save your graph, change title on top.
2.4. Build own Dashboard
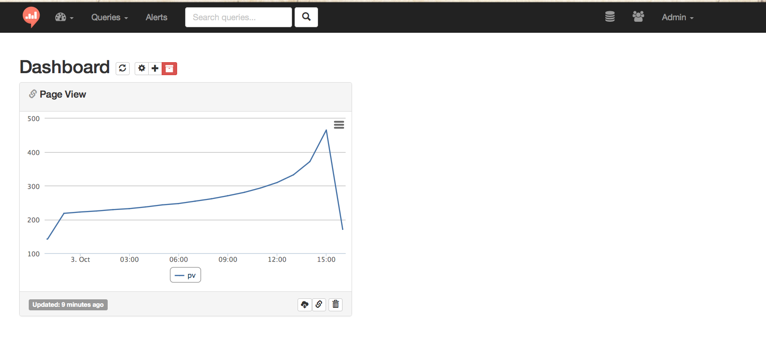
After visualized collected data, you can build own dashboard.
Move to dashboard page, and you can add your graph by Add widget.
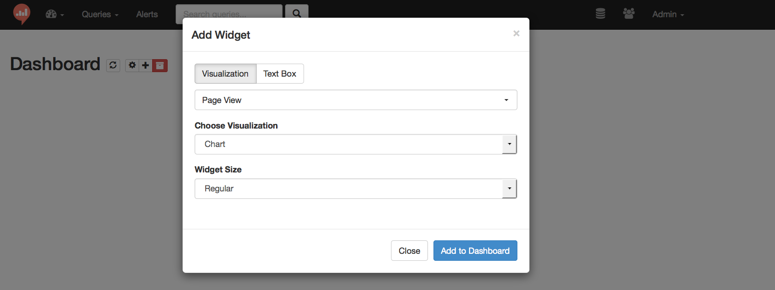
Then, you can see Page View on your dashboard.
3. Conclusion
You can collect data to TreasureData easily and visualze data on TreasureData by re:dash!
